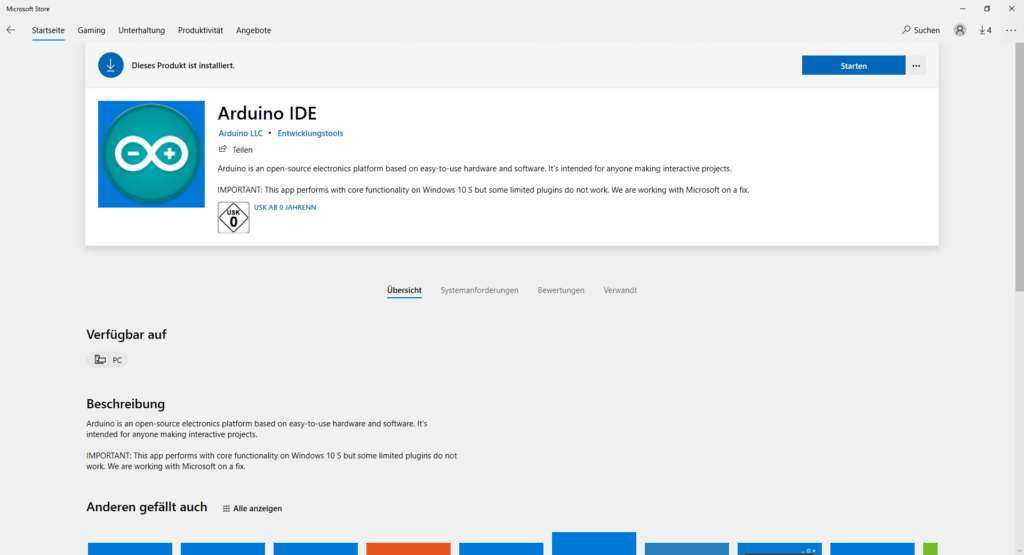
1. Open the Microsoft store and search for “Arduino IDE”. Once found hit the install button.
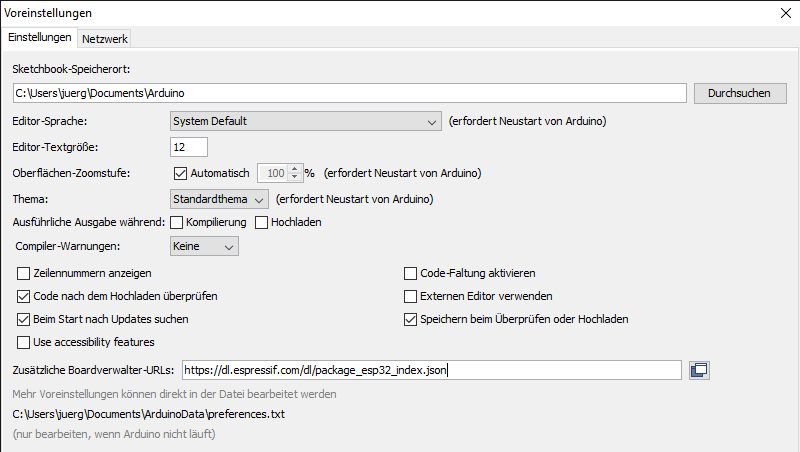
2. Start Arduino IDE and within the menu go to “File” > “Preferences” and add the following additional board management url.
https://dl.espressif.com/dl/package_esp32_index.jsonClick on “OK” to save the setting.
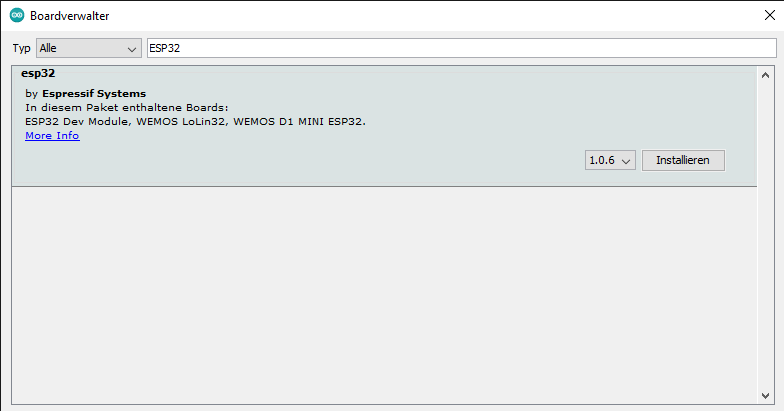
3. Go to “Tools” > “Boards” > “Board Management”. Search for “ESP32” by “Espressiv Systems” and click on “Install”.
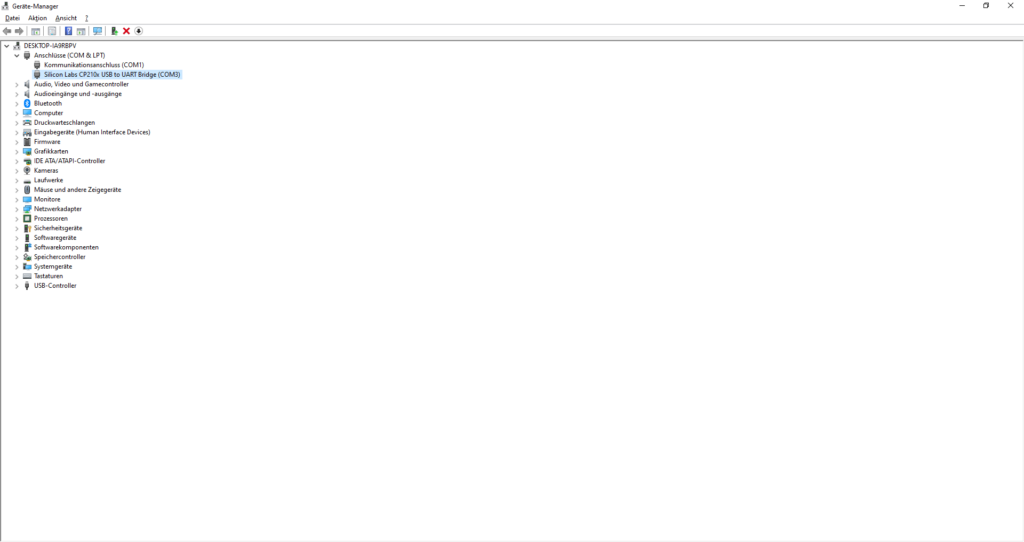
4. Connect the ESP32 to the computer and open the device manager. Check if there is an exclamation mark next to the connected device. If yes: Download and install the CP210x USB to UART Bridge VCP Drivers. The exclamation mark should disappear to continue. If everything works okay remember the COM of the device.
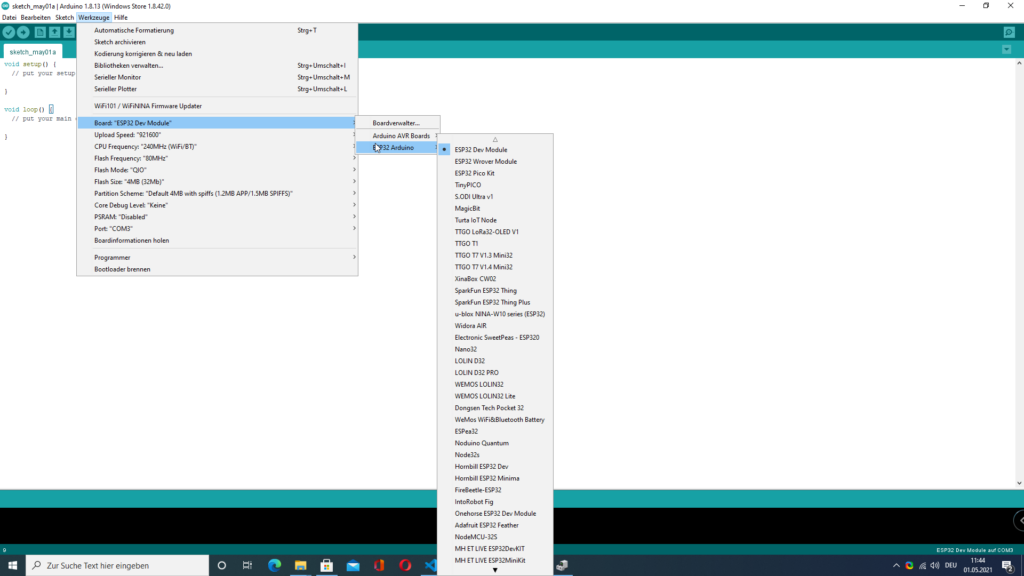
5. Back in Arduino IDE select “Tools” > “Board” and select the correct ESP32. Also select “Tools” and setup the COM of the step before.
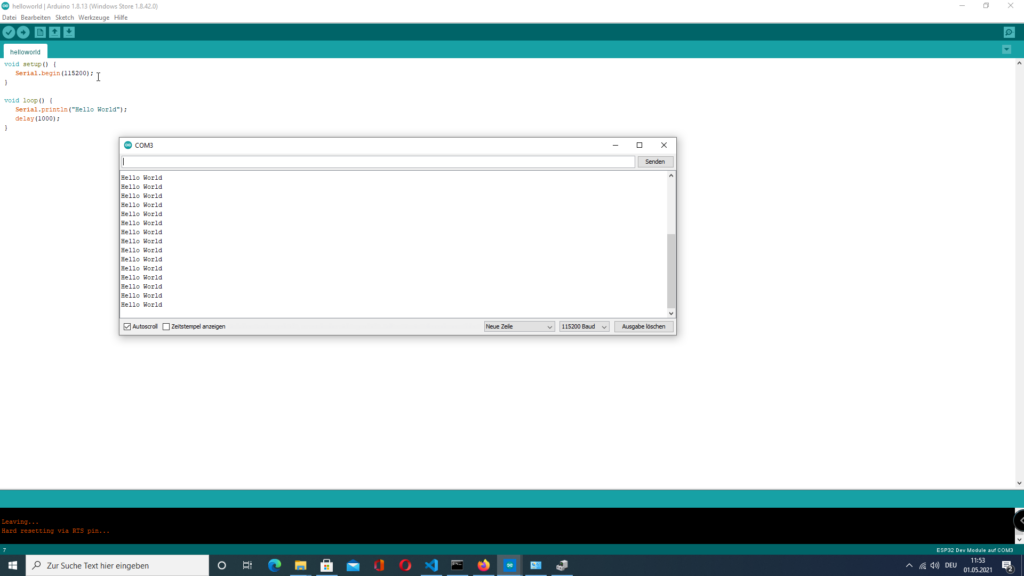
6. Insert the following code and save the program.
void setup() {
   Serial.begin(115200);
}

void loop() {
   Serial.println("Hello World");
   delay(2000);
}
7. Select “Sketch” > “Upload” and open the Serial Monitor. Select 115200 as Baud rate.